How to turn an embarrassingly bad shot into a not-so-bad one
A brief step-by-step walk-through of my editing process
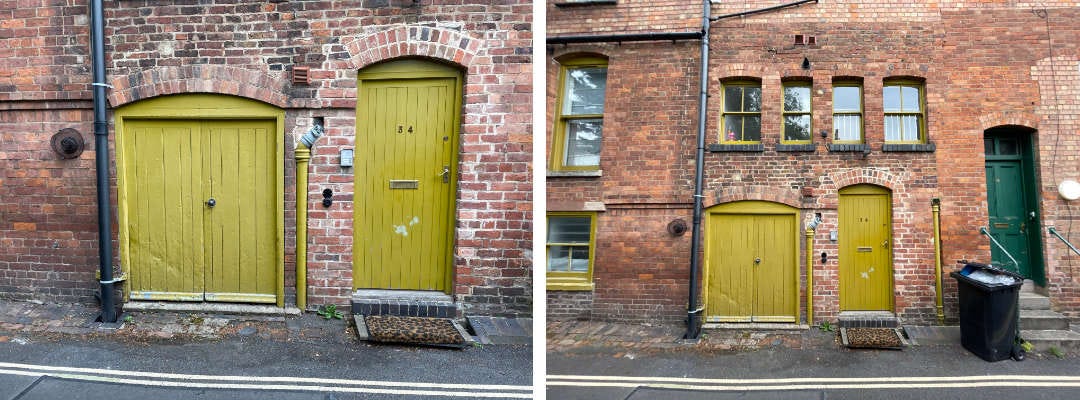
I took this shot whilst out walking the dog recently. The house is on one of our regular routes around the neighbourhood and we must have passed it at least a couple of hundred times and I haven’t bothered to stop. And I don’t know why I did this time, only that the single shot I initially took was a complete disaster and I’m glad I went back the next day to re-shoot. So, as well as the sharing the shameful first image as a prime example of what not to do, I’ve also documented the editing steps I went through to get the final image, which I’m pretty pleased with.
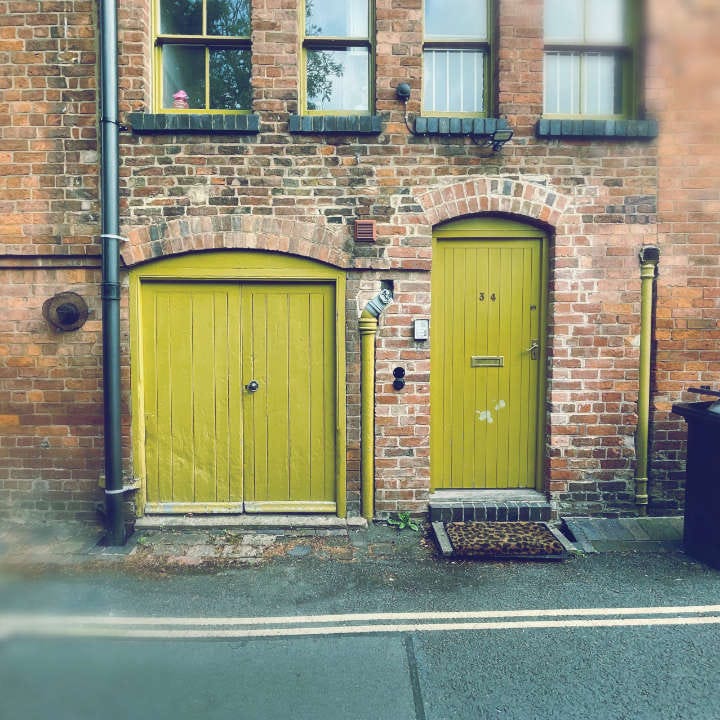
The first shot. It was the two doors that I was trying to capture. The house is on a really narrow street, just a single car width without any pavements and there’s a tall brick wall on the opposite side. It’s a bit of a corridor so you don’t really notice anything other than the ground floor when walking past.
I use an app called Hipstamatic on my phone to take quite a lot of my pictures. It produces retro style images that I like. Needless to say I had the wrong settings for this first shot. The lens blurring can work well for the background of things like flowers but clearly not architecture. The saving grace in this case is that the viewfinder for the app isn’t too precise so you end up with a wider view than you think you’re taking. Thus showing part of the four windows that I’ve never really taken much notice of before.
I walked past again the next day. Keeping my options open I used the native camera on my phone, so no effects were captured at this stage. I took the original two doors plus a super-wide shot with the 0.5x lens on my phone. It’s equivalent to 13mm in 35mm terms. I was trying to get as straight on as possible, although I was obviously some way out on the first shot. In my defence the dog doesn’t like standing still for too long and was probably pulling me around a bit… The wider shot is better. I knew I’d have to correct for the verticals converging as I was looking up so gave plenty of room above the windows and below the doors so that nothing important would get cropped when correcting later.
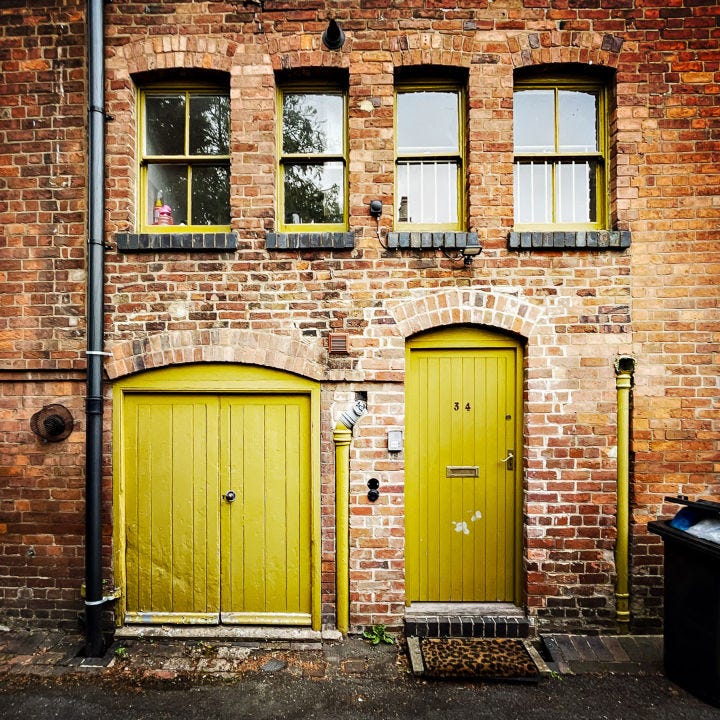
I straightened out the verticals in the photo editing suite on my phone. I use Lightroom on my desktop computer for editing and I would normally do any corrections there as it’s much easier to see on a big screen and more precise than using a finger and/or thumb on my phone. However, another feature of the Hipstamatic app is that it has its own editing suite where retro styles can be applied to images taken outside of the app – which I wanted to do. So I corrected the convergence on the phone rather than transferring the image back and forth numerous times.
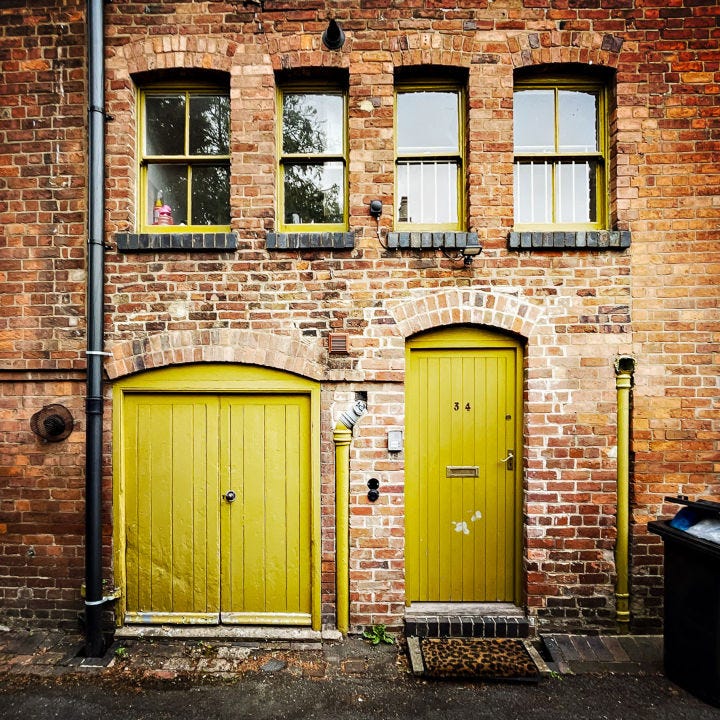
I use the Jane lens a lot when shooting with Hipstamatic. I like that it gives an image a bit of punch by increasing the contrast and adding a subtle amount of saturation. It also adds a vignette to help focus the viewers attention. It can overexposure the centre of the image a little so I took that back down in the app as well as applying a touch of clarity for some extra definition and I increased the amount of the vignette. I cropped the image square at this point and then transferred it to my computer to load into Lightroom.
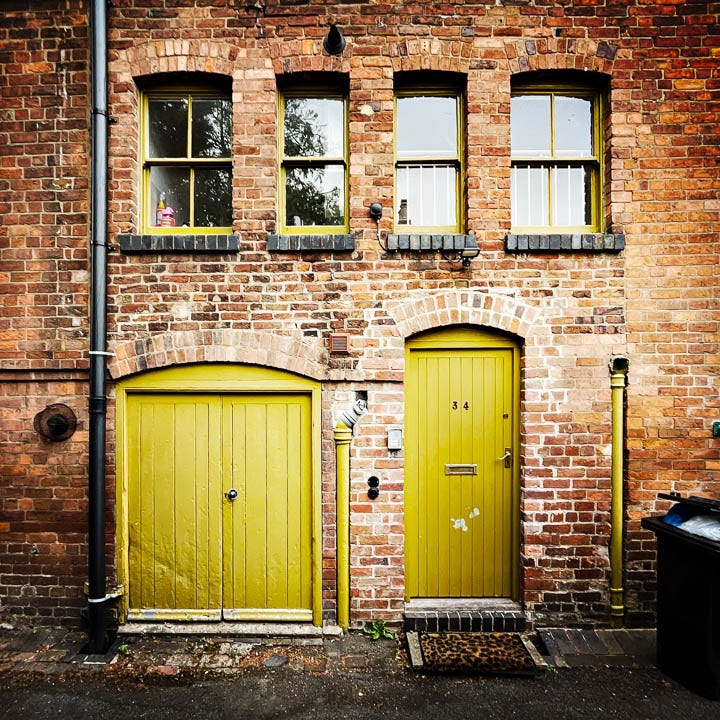
I did some further small tweaks once the image could be seen on a bigger screen. Nothing major, in fact you may not even be able to tell with these small images, but I corrected the horizontal convergence a touch, brought down the highlights and increased the lightness of the shadows. Subtle changes but I feel that it does makes a difference. And that’s it! I hope you found it useful.
